NetBox is an open-source tool to manage and document computer networks. It’s written in the Django Python framework.
With Netbox, you can monitor and manage IP addresses, racks, devices, networks, consoles, power connections, virtual machines, clusters and secrets from the web-based interface.
In this tutorial, we will explain how to install and configure NetBox on Debian 10.
Requirements
• A server running Debian 10.
• A root password configured on your server.
• A static IP address 192.168.0.2 configured on your server.
Install Required Dependencies
Before starting, you will need to install some dependencies required by Netbox. You can install all of them with the following command:
# apt-get install -y nginx git gcc supervisor python3 python3-dev python3-pip python3-setuptools build-essential libxml2-dev libxslt1-dev libffi-dev graphviz libpq-dev libssl-dev zlib1g-dev
After installing all the dependencies, you can proceed to install PostgreSQL server.
Install and Configure PostgreSQL
NetBox uses PostgreSQL to store its data. So you will need to install it on your server. You can install it by just running the following command:
# apt-get install postgresql postgresql-contrib -y
Once installed, log in to PostgreSQL shell and create a database and user for Netbox:
su - postgres
postgres@debian:~$ psql
postgres=# CREATE DATABASE netboxdb;
postgres=# CREATE USER netboxuser WITH PASSWORD 'password';
Next, grant all the privileges to the NetBox database and exit from the PostgreSQL with the following command:
postgres=# GRANT ALL PRIVILEGES ON DATABASE netboxdb TO netboxuser;
postgres=# exit
Install and Configure NetBox
First, you will need to download the latest version of NetBox from the Git repository.
# cd /opt/
# git clone -b master https://github.com/digitalocean/netbox.git
Once downloaded, change the directory to netbox and generate Django SECRET Key with the following command:
# cd /opt/netbox/netbox/
# ./generate_secret_key.py
You should see the following output:
YS-&Jt%X6LOkDMhw8IKxpbe(NEjBT5nyUiGF1c0v_u4)saHR29
Next, change the directory to netbox and rename the example configuration file:
# cd netbox
# mv configuration.example.py configuration.py
Next, open the NetBox configuration file and define the database details:
# nano configuration.py
Change the following lines:
# Example: ALLOWED_HOSTS = ['netbox.example.com', 'netbox.internal.local']
ALLOWED_HOSTS = ['192.168.0.2']

# PostgreSQL database configuration.
DATABASE = {
'NAME': 'netboxdb', # Database name
'USER': 'netboxuser', # PostgreSQL username
'PASSWORD': 'password', # PostgreSQL password
'HOST': 'localhost', # Database server
'PORT': '', # Database port (leave blank for default)
}

SECRET_KEY = 'YS-&Jt%X6LOkDMhw8IKxpbe(NEjBT5nyUiGF1c0v_u4)saHR29'
Save and close the file when you are finished. Then, install all the dependencies required by NetBox with the following command:
# pip3 install -r /opt/netbox/requirements.txt
Next, migrate the database with the following command:
# cd /opt/netbox/netbox/
# python3 manage.py migrate
Next, create an Admin user for NetBox with the following command:
# python3 manage.py createsuperuser
Provide your desired username and password to create the Admin user as shown below:
Username (leave blank to use 'root'): netboxuser
 Email address: admin@clouding.io
 Password:
 Password (again):
 Superuser created successfully.
Next, load initial data and move static file with the following command:
# python3 manage.py collectstatic
# python3 manage.py loaddata initial_data
Install and Configure Gunicorn and Supervisor
First, install Gunicorn using the following command:
# pip3 install gunicorn
Once installed, create a new configuration file for NetBox:
# nano /opt/netbox/gunicorn_config.py
Add the following lines:
command = '/usr/local/bin/gunicorn'
pythonpath = '/opt/netbox/netbox'
bind = 'your-server-ip:8001'
workers = 3
user = 'www-data'
Save and close the file. Then, create a Supervisor configuration file to manage NetBox service:
# nano /etc/supervisor/conf.d/netbox.conf
Add the following lines:
[program:netbox]
command = gunicorn -c /opt/netbox/gunicorn_config.py netbox.wsgi
directory = /opt/netbox/netbox/
user = www-data
Save the file. Then, restart Supervisor service with the following command:
# systemctl restart supervisor
Next, enable Supervisor service to start at boot with the following command:
# systemctl enable supervisor
Configure Nginx as a Reverse Proxy for NetBox
NetBox is now configured and listening on port 8001. Now, you will need to configure Nginx as a reverse proxy to forward request comming on port 80 to 8001.
To do so, create an Nginx virtual host file with the following command:
# nano /etc/nginx/sites-available/netbox.conf
Add the following lines:
server {
    listen 80;
    server_name 192.168.0.2;
    client_max_body_size 25m;

    location /static/ {
        alias /opt/netbox/netbox/static/;
    }

    location / {
        proxy_pass http://192.168.0.2:8001;
    }
}
Save the file. Then, check Nginx for any syntax error with the following command:
# nginx -t
Next, enable Nginx virtual host file with the following command:
# ln -s /etc/nginx/sites-available/netbox.conf /etc/nginx/sites-enabled/
Next, restart Nginx to apply all the configuration changes:
# systemctl restart nginx
Access NetBox Web UI
Now, open your web browser and visit the URL http://192.168.0.2. You will be redirected to the following page:
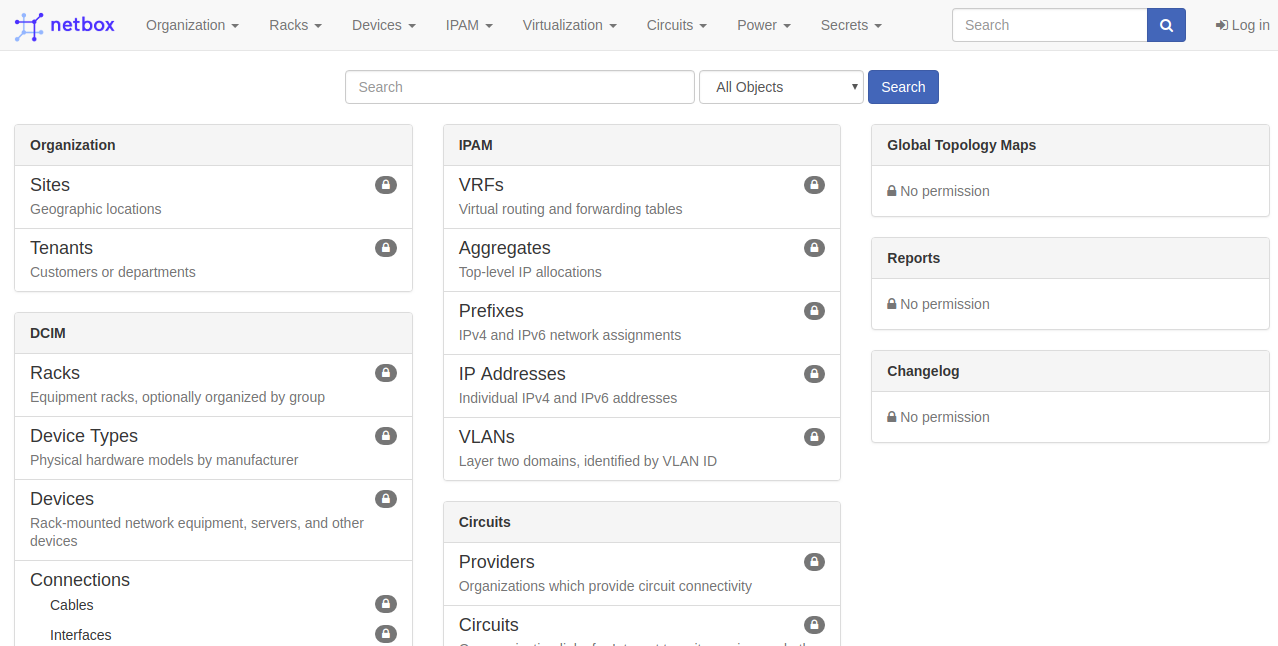
Click on the Login button. You should see the NetBox login page:

Provide your Netbox admin username and password, then click on the Log in button. You should see the following page:
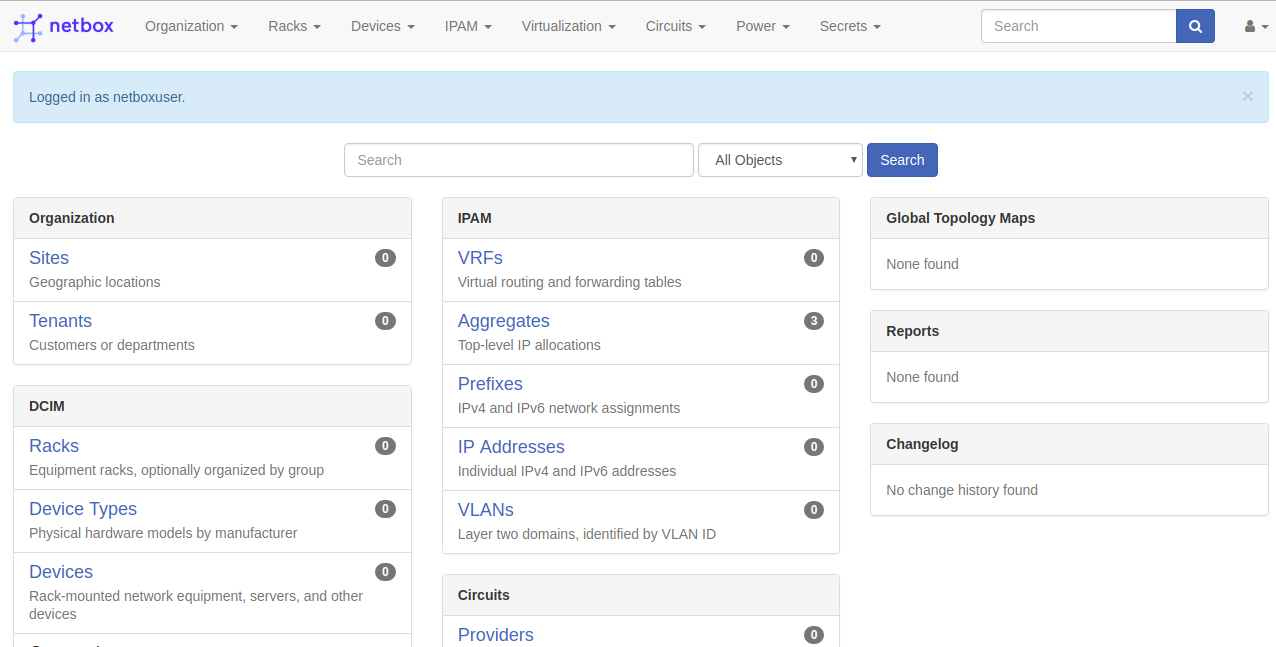
Congratulations! You NetBox is now installed and ready to be used 🙂