Amongst the Plesk features, it is worth highlighting the option to manage web spaces, FTP, emails, databases and DNS. It also comes configured with Apache2 or Nginx, although Nginx can also be used as a proxy, which makes the webs go much faster. It also includes the option to add SSL certificates with Let's Encrypt.
When we create a new machine with Plesk, we must bear in mind that the creation of the server is almost instantaneous but that after that, it will take around fiften minutes installing all the components of the panel, so when we receive the e-mail with the password of the server, the panel will not be accessible from the browser yet.
After fifteen minutes of the Plesk panel installation, we'll be able to access our Plesk from a browser by entering the server IP together with port 8443.
It is important that after installing Plesk you take the following steps to avoid further problems.
Access for the first time
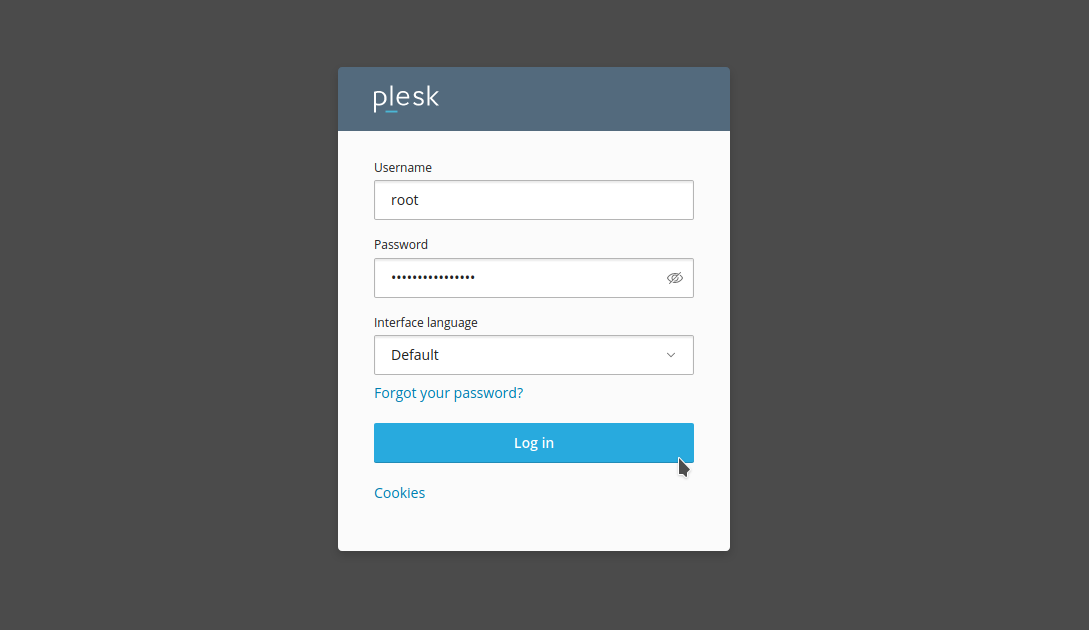
To access the server we must type the following in the address bar:
https://[IPServidor]:8443
We'll log in with the root user and with the server password:
After starting for the first time, we'll have to set up an e-mail account and password for the admin user. We recommend setting the same password as the root one or setting a secure one.
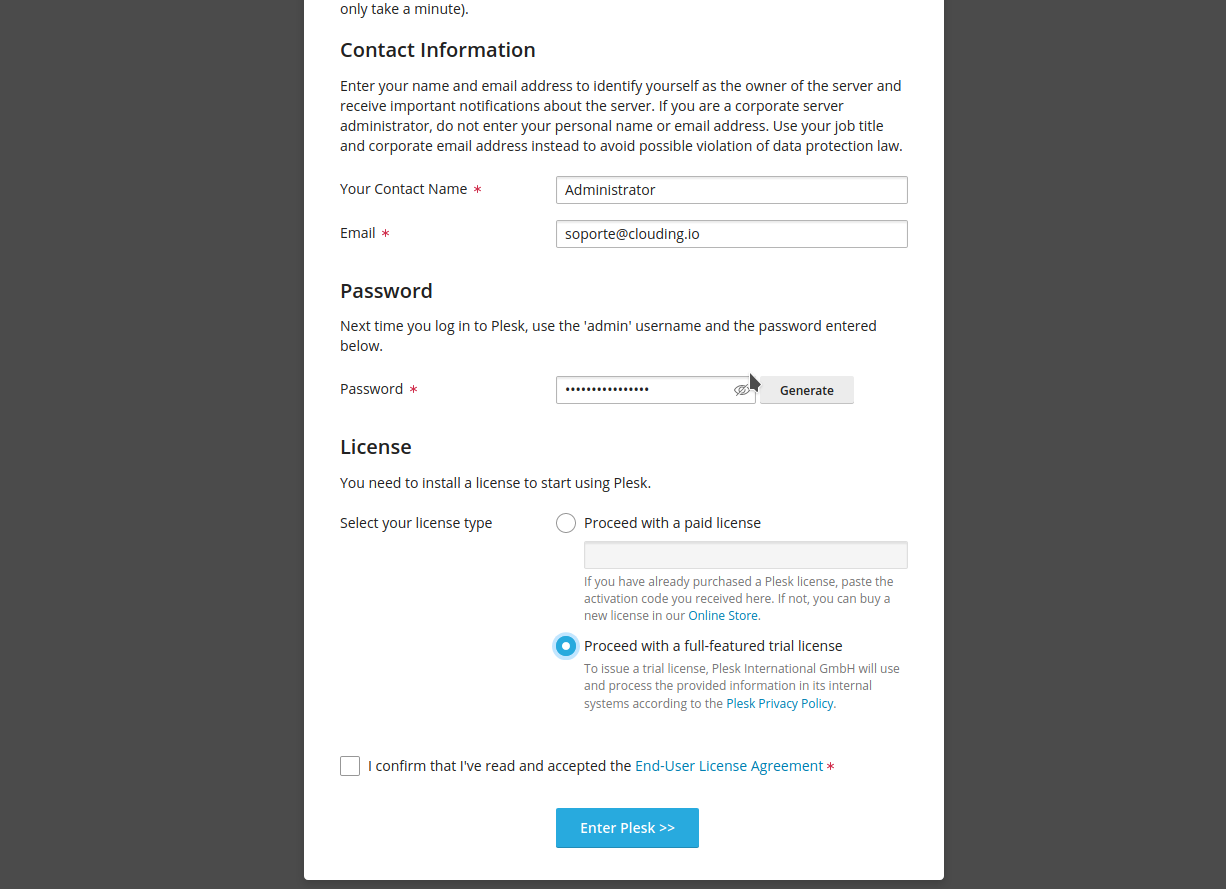
An important step is the one shown in the final section called "License". If we have a Plesk license that we can get in OpenProvider, we can set it now. Otherwise, we can use a 14-day trial license by checking the second option.
Finally, we'll mark the checkbox accepting the license and we will click on Enter Plesk.
Setting up hostname on the server
It's very important setting up a hostname on the server to prevent our IP from ending up on SPAM blacklists. By default, Plesk sends e-mails to report bugs and system updates. By default, it sends them using the default hostname: localdomain.local or ubuntu-1804-image.local.
You have to change this into a domain that is pointing to the server, usually it is the main domain of the server.
We must go to Tools and Settings> General Settings> Server Settings and here modify the Full hostname parameter:
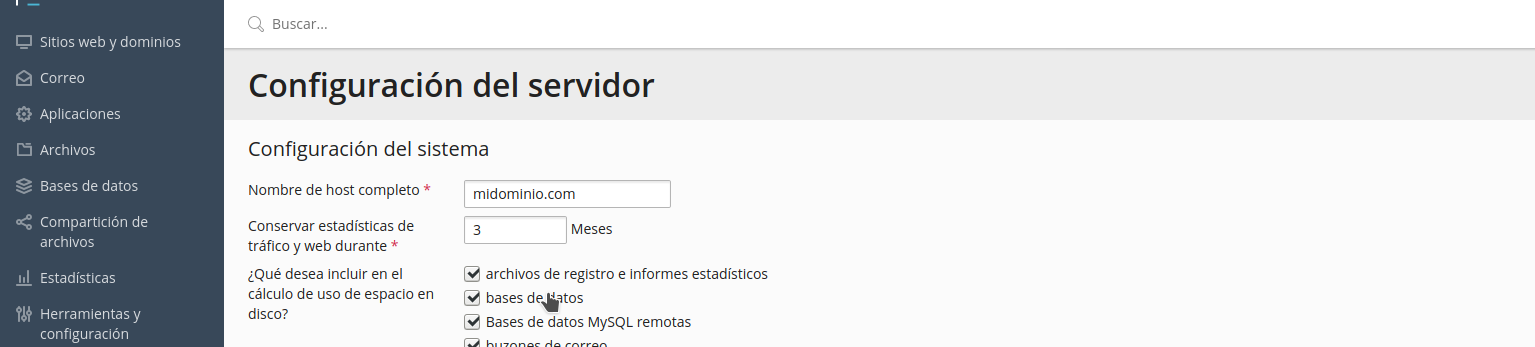
If you don't have any domain pointing to the server yet, you can set it up using our NS and setting up the DNS zone.
We save changes and we will no longer be exposed to e-mail blacklists. In the event that your IP is already blacklisted, remember that you must remove the IP from the SPAM blacklists.