Matomo is a free and open-source web analytics software that allows you to track your website. It is an alternative to Google Analytics that help to grow your website. You can track your website information including, users, visitors, search engine results, languages, keywords, and much more. Matomo provides a lot of features such as, Google AdWords, Facebook Ads, Yahoo, Search Marketing, Tracking and Reporting API and Cost Per Click (CPC).
In this tutorial we will show you how to set up Matomo Web Analytics with Apache on Debian 10.
Prerequisites
- Debian 10 cloud server with a minimum 2 GB RAM.
- A domain name pointed to your server. In this tutorial, we will use the linuxbuz.com domain.
Update the System
First, you will need to update your system packages to the latest version. Run the following command to update all the packages:
apt-get update -y
After updating your system, you can proceed to install Apache, PHP and MariaDB server.
Install Apache, PHP and MariaDB
Matomo is written in PHP and uses MariaDB for the database backend. So the LAMP stack must be installed in your server to follow this tutorial. If not installed, you can install them by running the following command:
apt-get install apache2 mariadb-server php libapache2-mod-php php-cli php-common
php-curl php-gd php-xml php-mbstring php-mysql unzip curl gnupg2 -y
After installing all the required packages, edit the php.ini file and make some desired changes:
nano /etc/php/7.3/apache2/php.ini
Change the following settings:
memory_limit = 512M
max_execution_time = 300
post_max_size = 64M
upload_max_filesize = 64M
date.timezone = Asia/Kolkata
Save the file once you are done. Then, restart the Apache service to apply the changes:
systemctl restart apache2
Setup MariaDB Database for Matomo
Next, you will need to create a database and user for Matomo.
First, log in to MariaDB with the following command:
mysql
Next, create a database and user for Matomo with the following command:
MariaDB [(none)]> CREATE DATABASE matomo;
MariaDB [(none)]> GRANT ALL ON matomo.* TO 'matomouser' IDENTIFIED BY 'yourpassword';
Next, flush the privileges and exit from the MariaDB with the following command:
MariaDB [(none)]> FLUSH PRIVILEGES;
MariaDB [(none)]> EXIT;
Once your database is created, you can proceed to download Matomo.
Download Matomo
The latest version of Matomo is available at the Matomo official website. You can download it running the following command:
cd /var/www/
wget https://builds.matomo.org/matomo.zip
After downloading Matomo, extract the downloaded file using the following command:
unzip matomo.zip
Next, change the ownership of Matomo directory to www-data:
chown -R www-data:www-data /var/www/matomo
Configure Apache for Matomo
Next, you will need to create an Apache virtual host configuration file to serve Matomo. You can create it with the following command:
nano /etc/apache2/sites-available/matomo.conf
Add the following lines:
  <VirtualHost *:80>
        ServerAdmin webmaster@linuxbuz.com
        ServerName linuxbuz.com
        DocumentRoot /var/www/matomo/

        <Directory /var/www/matomo>
           DirectoryIndex index.php
           Options FollowSymLinks
           AllowOverride All
           Require all granted
        </Directory>

        <Files "console">
           Options None
           Require all denied
        </Files>

        <Directory /var/www/matomo/misc/user>
           Options None
           Require all granted
        </Directory>

        <Directory /var/www/matomo/misc>
           Options None
           Require all denied
        </Directory>

        <Directory /var/www/matomo/vendor>
           Options None
           Require all denied
        </Directory>

        ErrorLog ${APACHE_LOG_DIR}/matomo_error.log
        CustomLog ${APACHE_LOG_DIR}/matomo_access.log combined

</VirtualHost>
Save and close the file, then enable the Apache virtual host file using the following command:
a2ensite matomo.conf
Next, restart the Apache service to apply the configuration changes:
systemctl restart apache2
Access Matomo Web UI
Now, open your web browser and access the Matomo web installation wizard using the URL http://site1.linuxbuz.com.
You will be redirected to the following page:
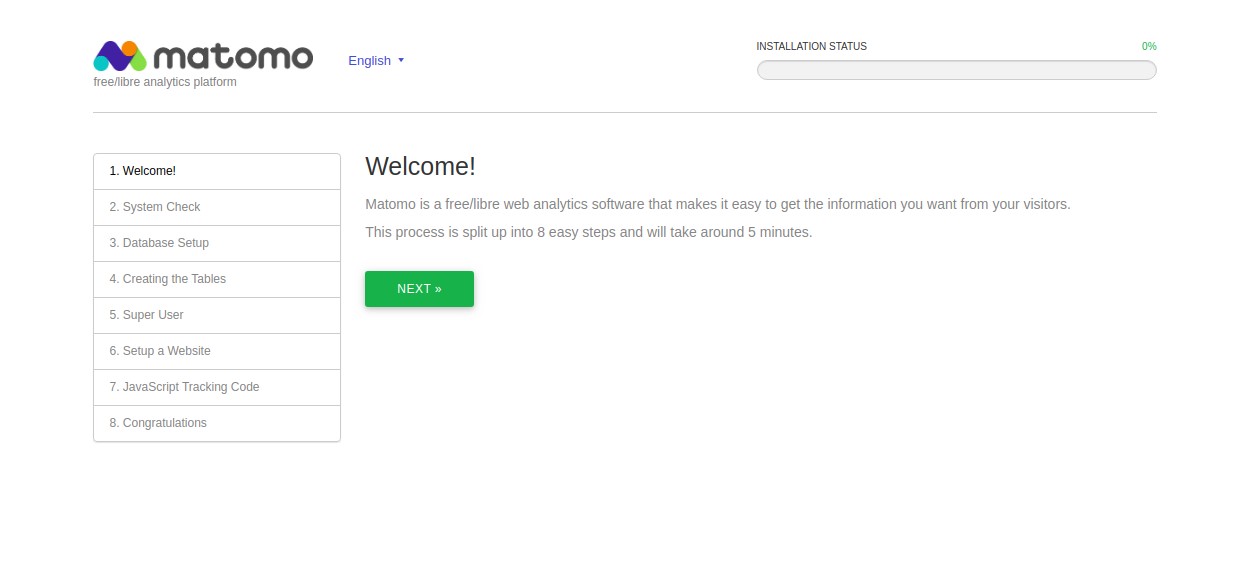
Click on the NEXT button. You should see the following page:
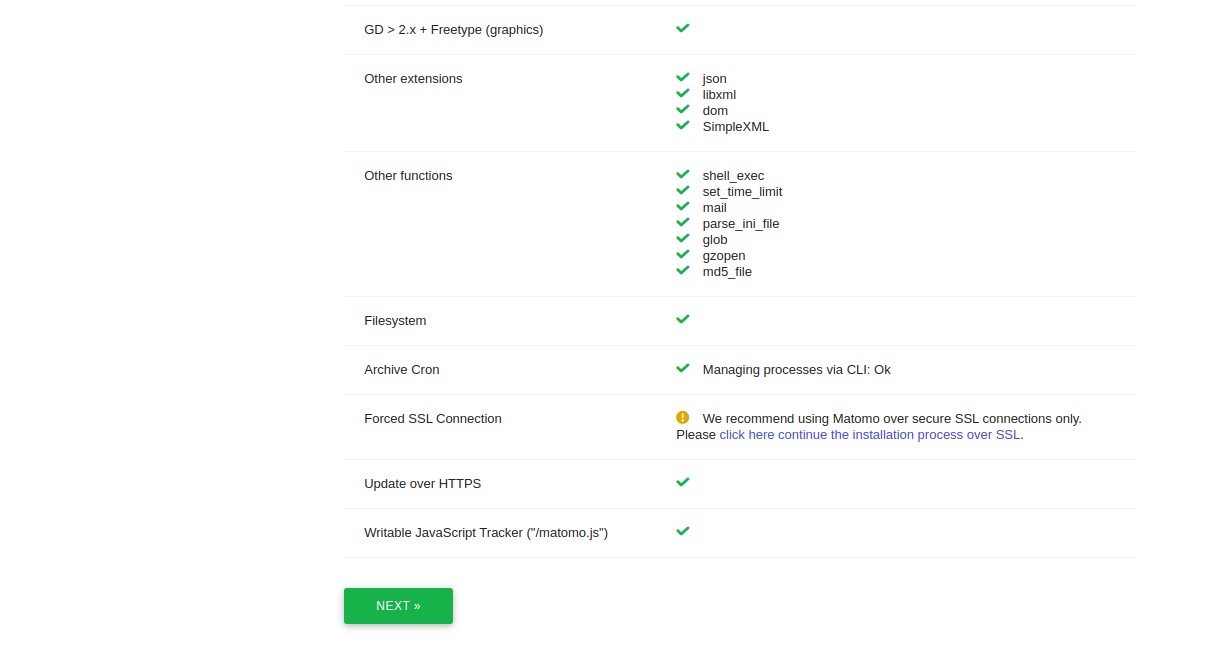
Make sure all the required PHP extensions are installed, then click on the NEXT button. You should see the following page:
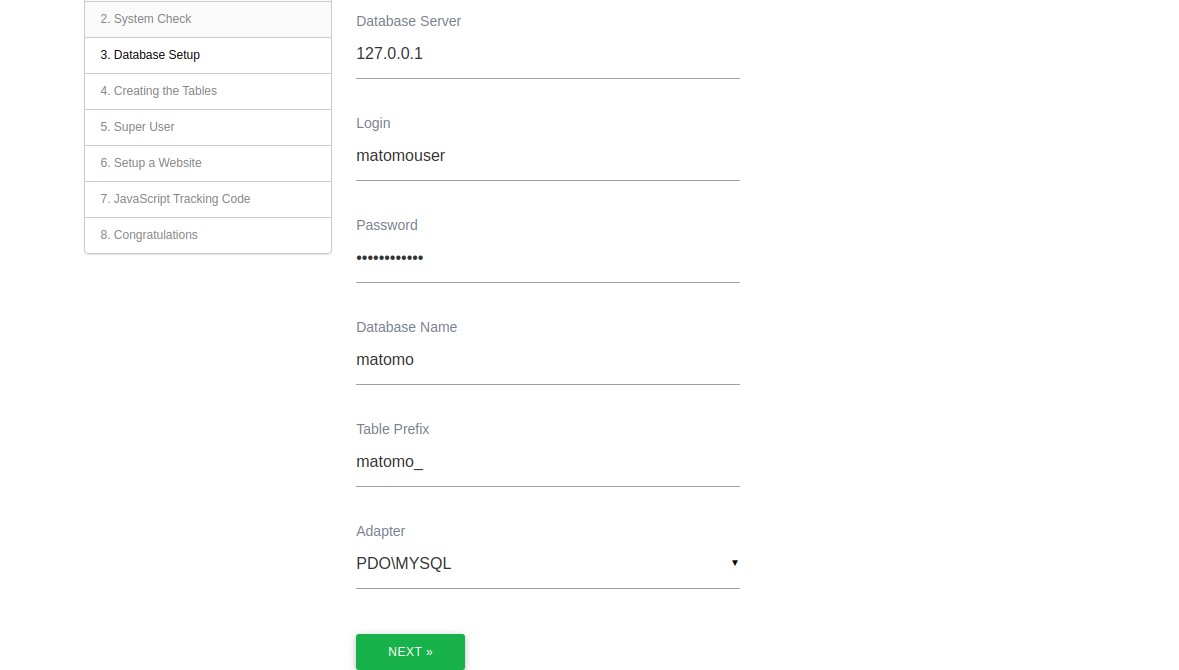
Provide your database information and click on the NEXT button. You should see the following page:
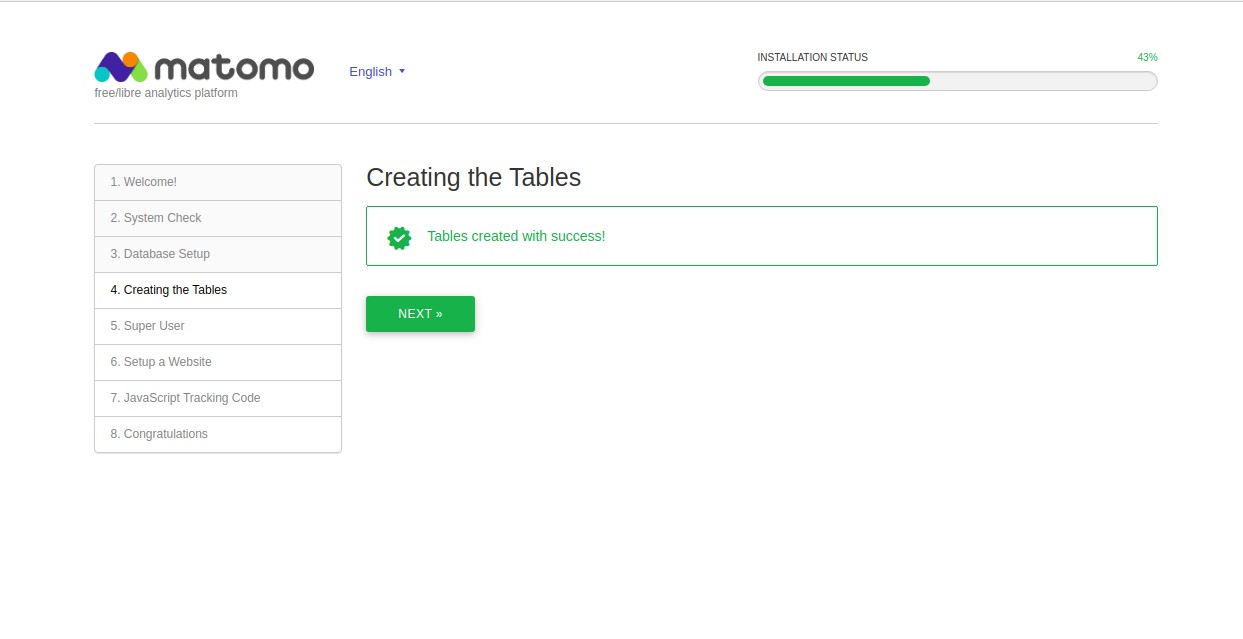
Click on the NEXT button. You should see the admin user creation page:
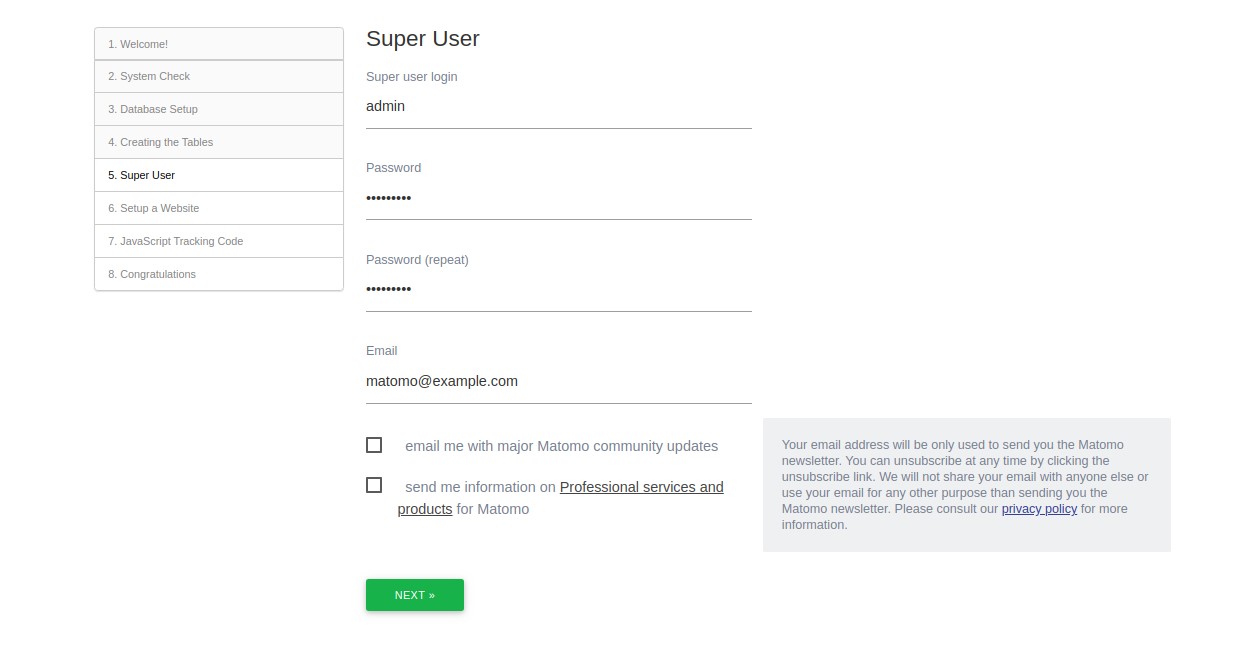
Provide your admin user details and click on the NEXT button. You should see the following page:
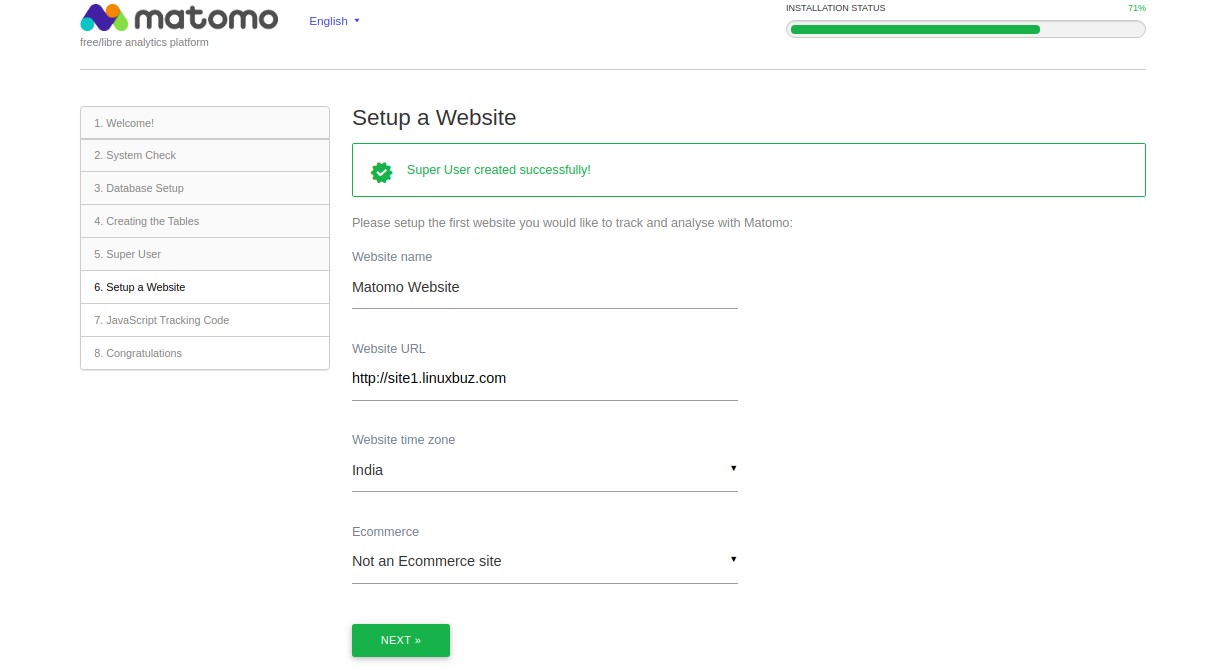
Provide your website name, URL and click on the NEXT button. You should see your Matomo tracking code in the following page:
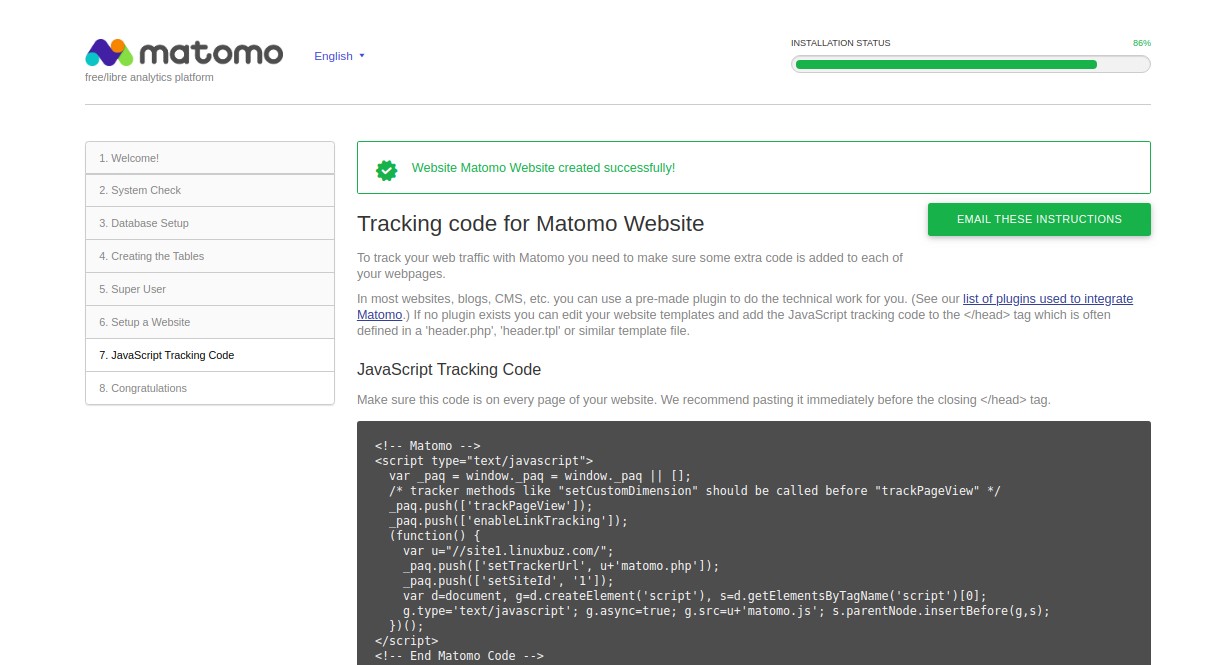
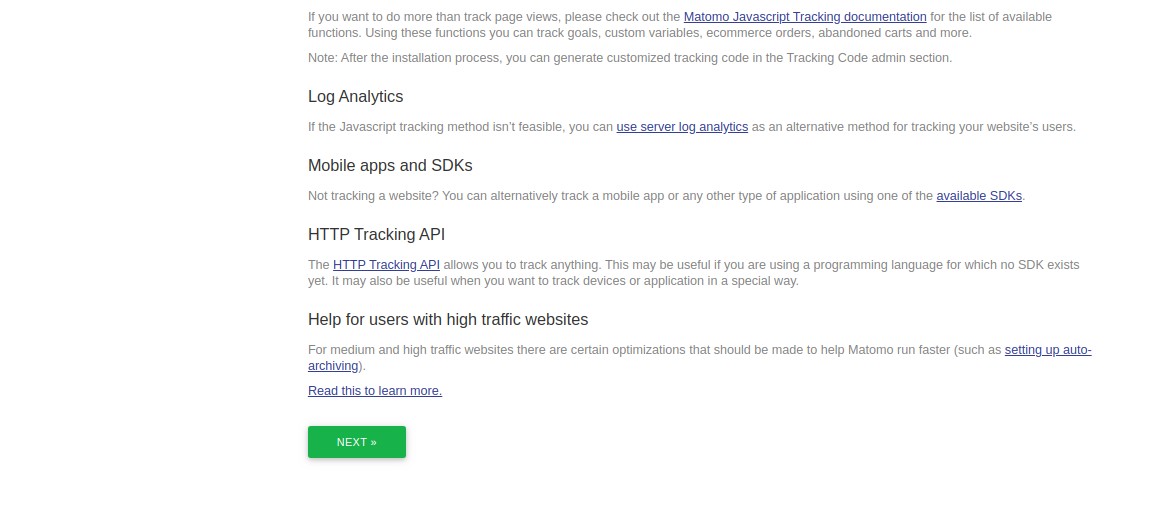
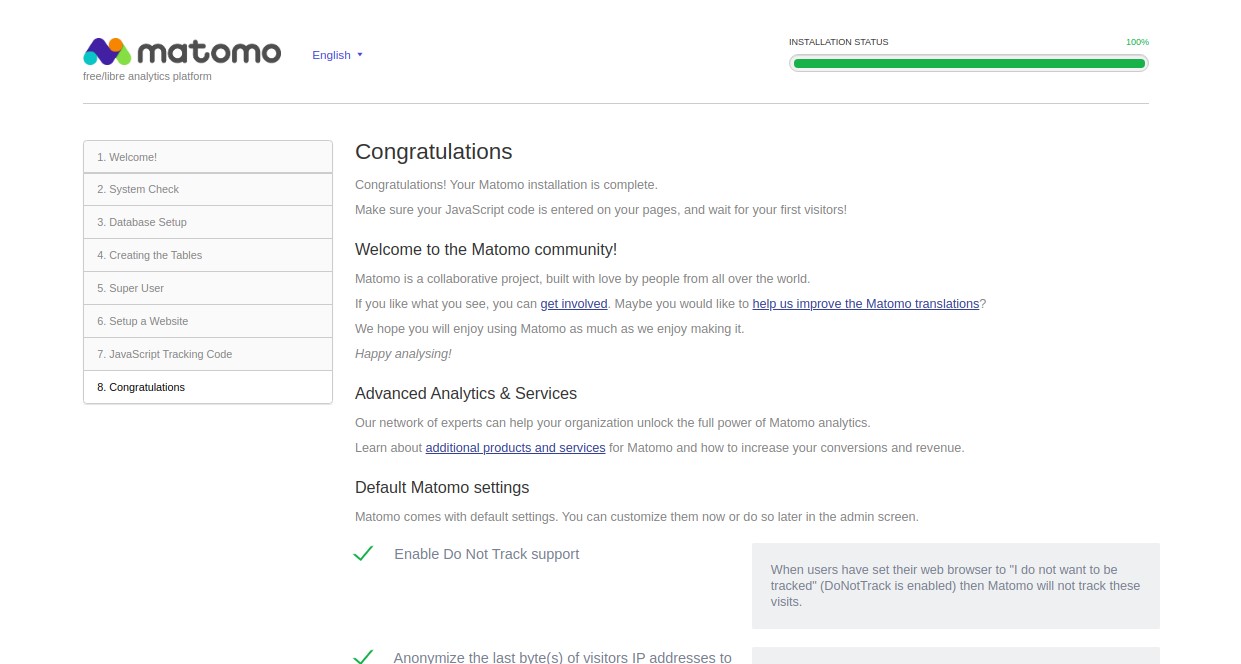
Click on the NEXT button. Once the installation has been completed, you should see the Matomo dashboard in the following page:
Conclusion
We hope that with this tutorial you have installed successfully Matomo with Apache on Debian 10.
You can now host your own Matomo server and track your website easily!