VNC (Virtual Network Computing) is a technology to remotely share the graphic desktop. VNC allows you to visualize the visual desktop screen and control it through a network connection. It is similar to Remote Desktop in Windows. It uses the Remote Frame Buffer (RFB) protocol to remotely control a computer or a server.
Still, in order to have this ,you must first install a graphic environment on the server. From the most popular desktop environments available, XFCE is quite small as it uses a surprisingly low amount of memory, while at the same time looking slick and functional. We use XFCE in this tutorial. However, you can also use other popular desktop environments such as KDE, GNOME and Unity.
Installation of the graphic environment
The first thing we are going to do is install the graphic environment, in fact, we first have to connect by SSH to your server and update repositories by SSH:
# apt update
After updating the repositories, we install the necessary packages to use XFCE:
# apt install xfce4 xfce4-goodies gnome-icon-theme dbus-x11
The installation may take a while, since there are many packages that you have to install.
Installation of the VNC server
For this tutorial, we will use tightvncserver as a VNC server:
# apt install tightvncserver
Creation of the VNC user
To keep the server robust and secure, we will create a vnc connection with a different user from root. We will create a user called vnc using this command. You can keep the username according to your choice. It will ask for the new password and the user’s details. Enter the password and you can skip the other details by pressing “ENTER”.
# adduser vnc
We will also add the user to the sudo group:
# gpasswd -a vnc sudo
And now we will change the user with:
# su - vnc
Start VNC server
To start the VNC service we only have to use this command:
# touch .Xauthority
# vncserver
After executing, it will ask for a previous configuration:
You will require a password to access your desktops.
Password:
Verify:
Would you like to enter a view-only password (y/n)? y
Password:
Verify:
xauth: file /home/vnc/.Xauthority does not exist
New 'X' desktop is 578e1bb09561:1
Creating default startup script /home/vnc/.vnc/xstartup
Starting applications specified in /home/vnc/.vnc/xstartup
Log file is /home/vnc/.vnc/578e1bb09561:1.log
As you are starting the server the first time after installation, it will ask you to set a password used by the client to connect. It will also ask to set a read-only password that will allow the user to see the screen but not interact with it. By default, VNC is configured to listen on TCP port 5901 for the first screen and 5902 for the second screen, and so on.
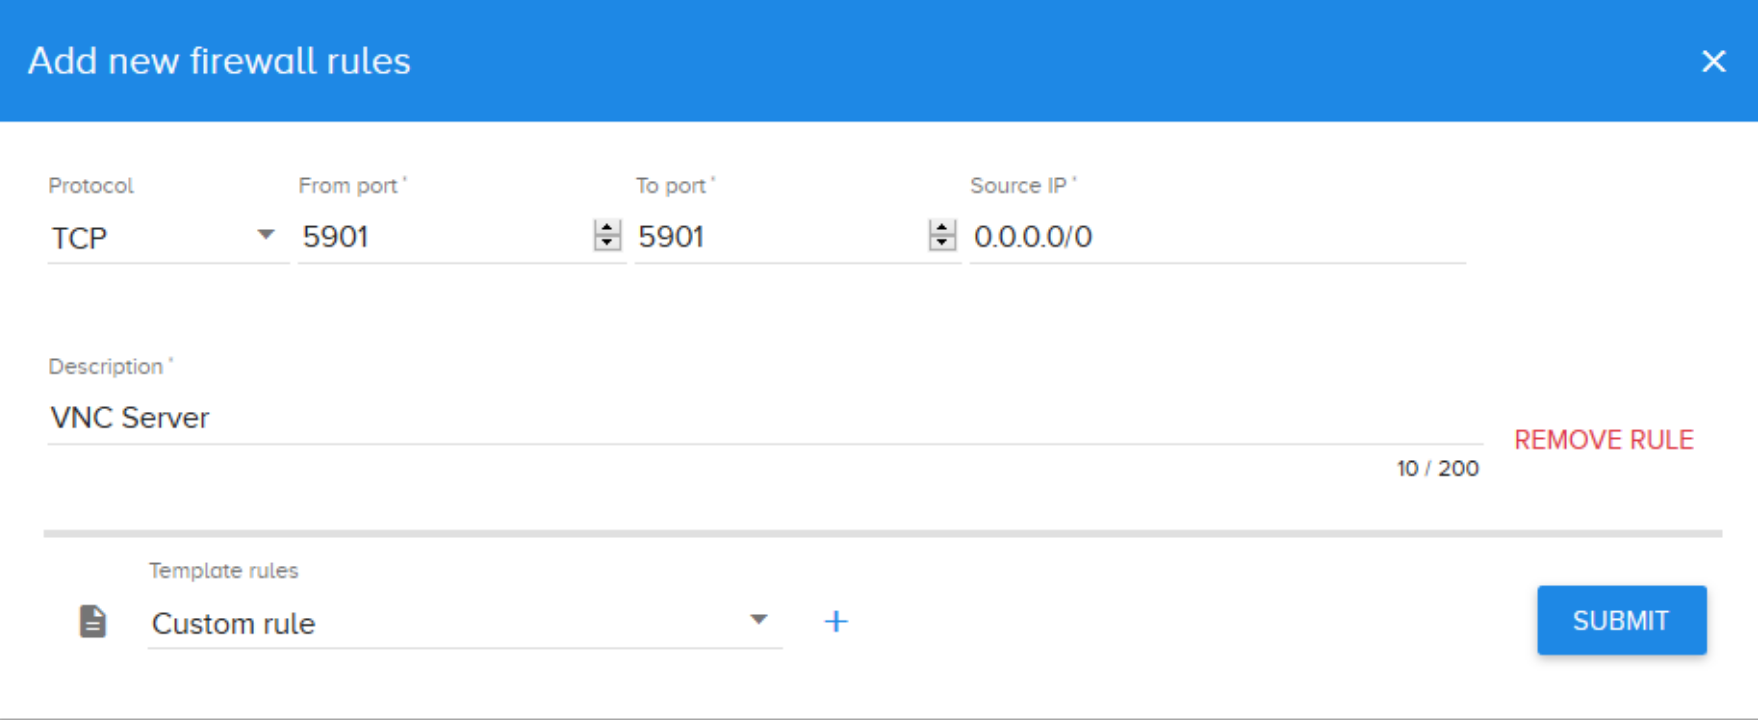
Open port in the server firewall
Go to the Clouding panel to manage the rules of our Firewall and add one for VNC:
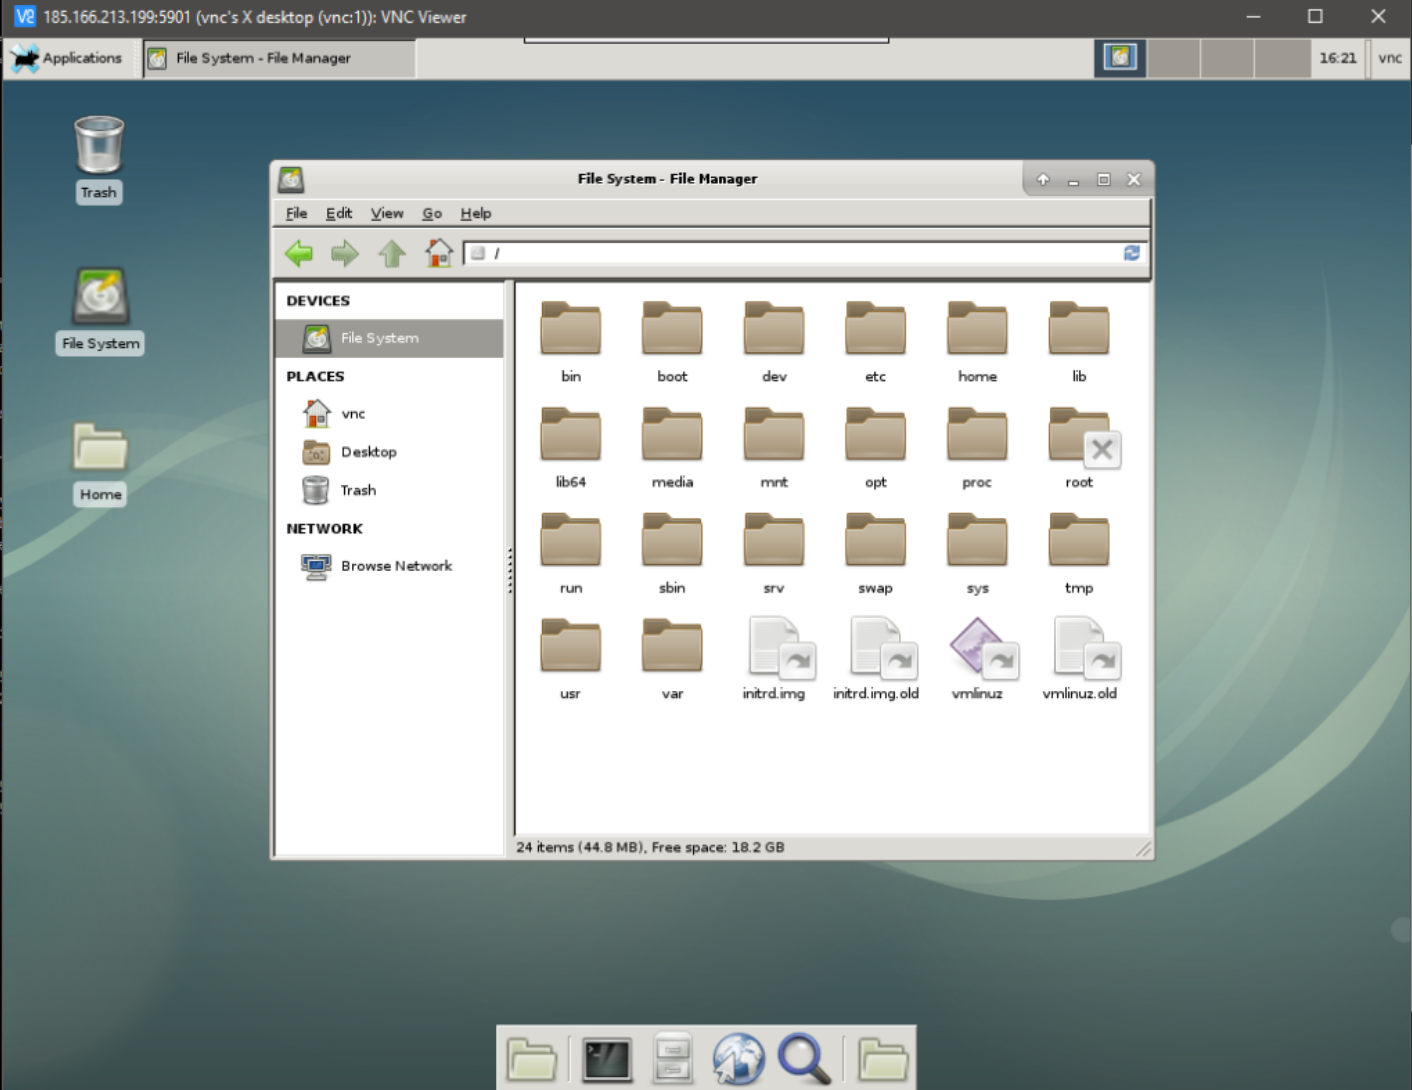
Connect to the server with VNC
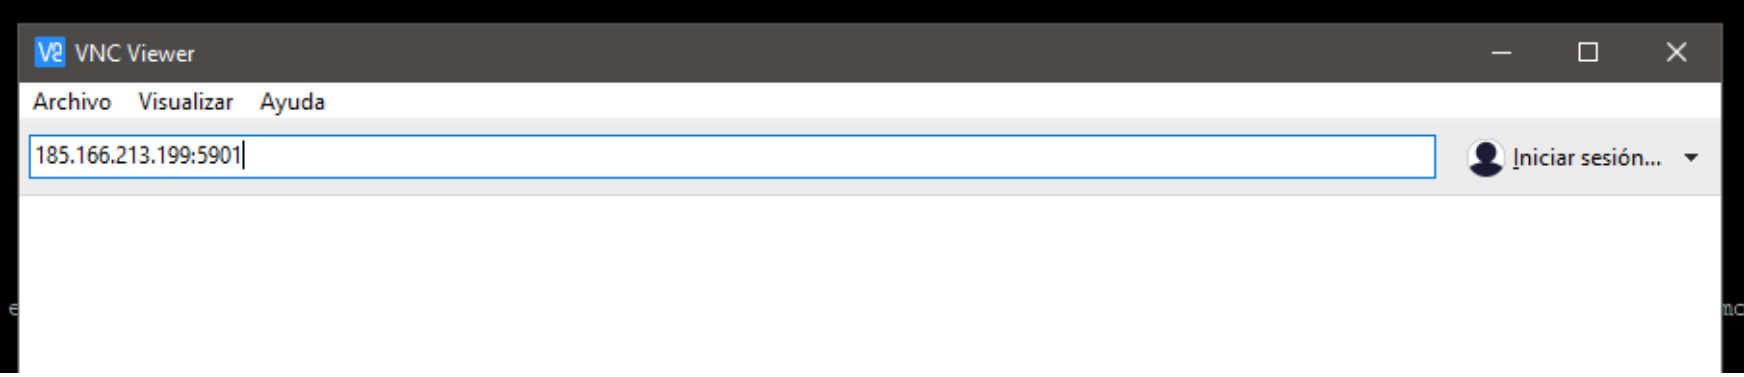
Let’s test our configuration by connecting to the VNC server. For that, you need a VNClocal client, which depends on the local operating system. I’m using Windows and I’ll use Realvnc as a client.
RealVNC is available for almost all operating system platforms, such as Windows, MacOS, Linux (based on Debian and RPM), Solaris, etc. You can also use other clients.
We will connect the following way: IP_Server: 5091
After entering the password we previously configured: